Campfires & the great outdoors
Images
Building & using fire in nature
Few opportunities in life offer such cosiness as those moments you spend out in nature, sitting by a campfire. The pulsating glow, swaying flames, and crackling sparks can hypnotise and soothe even the most stressed of souls.
In this article, you'll find the basic rules and key advice for safely practising the art of building a fire outdoors in Sweden.
Are you allowed to light campfires in Sweden?
Under Sweden’s right of public access (allemansrätten), anyone is allowed to build a fire when they’re out in nature while following safety guidelines. Sometimes, for example, when there are very dry conditions due to low rainfall, the authorities can impose a ban on lighting any fires within an affected area. Any information about restrictions or bans on fires within a municipality can be found on its website. Additionally, a nature reserve in Sweden may have a permanent ban on campfires. If you’re planning on staying in a reserve, it’s important to always know what, if any, restrictions there are before your trip. You can find the information for all nature reserves in Västmanland via [Västmanland County Administrative Board's website]
Campfire safety and protection of wildlife
Even if there is no ban on lighting campfires where you’re staying, it is important to always build a fire with caution. It is your responsibility to ensure that the fire does not spread or damage the soil and vegetation. Follow these tips to safely build a campfire and protect wildlife:
1. Only build fires on suitable surfaces
It’s best practice to only build your fire in a designated firepit and/or barbecue area. These are located far from overhanging branches and are prepared with a gravel foundation to avoid root fires, which are when tree roots burn underground and often cause a wildfire. Along the trails, there are often unofficial fire rings or pits set up by hikers. These spots can often be good for a small fire, but remember that a large fire that burns for a long time could create a root fire if the base under the campfire is not prepared with gravel. You should generally avoid burning on any surface with moss and peat and especially avoid burning near old stumps and ant hills. Sand and gravel are the most suitable surfaces.
2. Do not build fires next to or directly on rock faces or boulders
The heat from the fire can cause the stone to crack, which creates lasting damage to the natural environment.
3. Make sure there’s nothing flammable hanging over where you build your fire
Keep in mind that the fire does not need to directly touch an overhanging branch in order for it to start burning. The heat of a nearby fire can often be enough.
4. Never light a fire in strong wind
Strong wind can whip a fire up into large flames and cause sparks to travel tens of metres. If there is a very strong wind blowing, it’s best not to have a fire at all.
5. Always have a plan for how to put out your fire
If you plan to let the fire burn out on its own, don’t put much wood on it at the end. If you plan to extinguish the fire with water, make sure you have enough water close by. It is also possible to put a fire out with gravel and sand. Leaving a campfire unattended is not OK, and you must always be sure that a fire is completely extinguished before you leave.
6. You’re not allowed to cut or chop live trees for firewood
Fallen cones, loose sticks, and branches on the ground are quite OK to use as fuel for the fire. But you’re not permitted to cut or chop down trees and bushes for firewood. It is also not permitted to take branches, limbs or barks from live trees. In some wind shelters and barbecue areas, you can find pre-cut firewood that is completely OK to use as long as there’s no sign that says otherwise.
Building campfires with care
In addition to the above guidelines for fire safety, you should also build campfires with care. That means thinking about other people who'll want to enjoy a soothing fire in the same place you are. To be a good guest of the great outdoors, consider the following advice for building a campfire with care:
1. Be moderate with your fire
A fire needs fuel in the form of wood, and that’s a limited resource. In order not to burn all the loose sticks or provided pre-cut firewood, it’s best to settle for a moderate fire that’s probably a little less than you were thinking. It's just as cosy and warm as a big fire, you only have to get a little closer.
2. Leave wood and tinder for the next visitor
If you don't need all the firewood or tinder that you've collected, it's always appreciated by the next visitor if you leave it in a suitable and dry place.
3. Do not burn trash or food waste
“Leave only footprints” is a good principle to follow for experiencing the outdoors, even when it comes to campfires. Food waste and trash don’t burn very well and leave behind residue waste that can severely affect the environment for future visitors. Also, the gases released from burning trash are often toxic and can be damaging to the surrounding nature in the long run.
How to start and maintain a campfire
To start and maintain a fire, you need the right balance of the three components: Heat, oxygen, and fuel. If there is too little or too much of any, the fire won’t light or stay lit for very long.
Basic principles of fire: Heating + oxygen + fuel = fire
The above equation applies to all fires, but how can it be achieved in practice? The problem is that too much of one cancels out the other.
An “airy” fire provides a lot of oxygen supply, but if the fuel (the wood and tinder) is not sufficiently packed close together, there is a risk that not enough heat will be generated, and the fire will go out. This is why you can put out a fire by using a poker to push the logs away from each other.
However, if the firewood is too densely packed, the fire can be “suffocated”, even if the heat is there. If you see that a fire is suffocating, you can whip it up by blowing or fanning it with some oxygen.
Of course, fuel is very important. In the forest, the natural fuel is wood, bark, and pine cones. The drier the fuel, the easier it burns. If you have started a fire with a bit of damp wood, it’s a good idea to dry the remaining firewood by putting it next to the burning fire.
If your firewood pieces are too large, they’ll be difficult to burn unless the fire generates enough heat. This is why it is especially important to cut and tear the wood into as small pieces as possible before lighting the fire. Once the fire is hot enough, you can add larger pieces. If the fuel is damp, it is particularly important that the pieces are not too large.
The right campfire preparations can save time
To start a fire, you need to add heat to your fuel and the surrounding oxygen. This can be done, for example, with a match. However, you can’t start a fire with just a match and a wooden log. The fuel is too large to sufficiently ignite from such a small source of heat. To start a fire, you need to prepare your fire with the right fuel and build-up. For the best campfires, follow these steps:
1. Collect and sort your fuel
Start by collecting and sorting your fuel into different piles. Put large and thick branches in one pile, medium-sized sticks in another, and thin, dry twigs in a third pile. Then collect a pile of tinder or kindling, such as birch bark, dry grass, or newspaper.
2. Build a good foundation for the fire
If the surface where you are going to build your fire is damp, you can put some larger wood logs or branches down over it, like a dry floor for your fire.
3. Start with the flammable fuel, such as small twigs and kindling
One approach is to build a small pyramid of dry twigs around a piece of birch bark. Another way is to lay the pieces flat over each other in a grid pattern. The important thing is that the fire is sufficiently airy to get oxygen but not so airy that it fails to produce enough heat for the flame to catch.
4. Add on larger materials
Start with medium-sized and then the largest pieces of firewood. You can also wait to add the larger pieces until the fire gets going. Build the fire as a pyramid or continue building a larger grid pattern. Remember to leave an opening close to you at the bottom of your arrangement of firewood, where you can light it.
5. Create a windshield when lighting your fire
A little wind can be good because it’s an oxygen supply, but too much wind can blow away the heat being generated. If necessary, build up a small windshield with logs or stones.
6. Bring the flame to your fire
Whether you're getting your first flame from a match, a fire striker, or friction, it's best to create the flame at the side of your firewood structure and then move the flame to the point you’ve left to light it with a piece of birch bark or shredded newspaper.
If you've built your fire well enough, you can just wait and let the flame spread through the material on its own. Remember that the right preparations for building a campfire save time and that practice makes perfect.
Four ways to light your campfire
1. With matches and lighter fluid
We all start there, and why not? With a little lighter fluid, you don’t need to rely on correctly following much of the above advice on fire building. But if you want to challenge yourself with the tricky art of building a fire outdoors, try one of the methods below.
2. With a fire striker and tinder
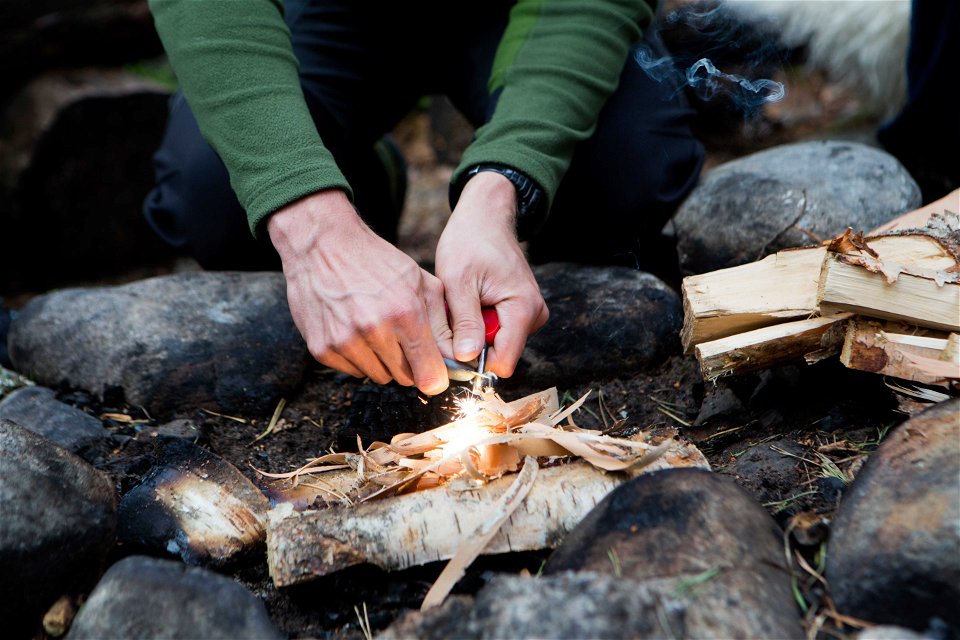
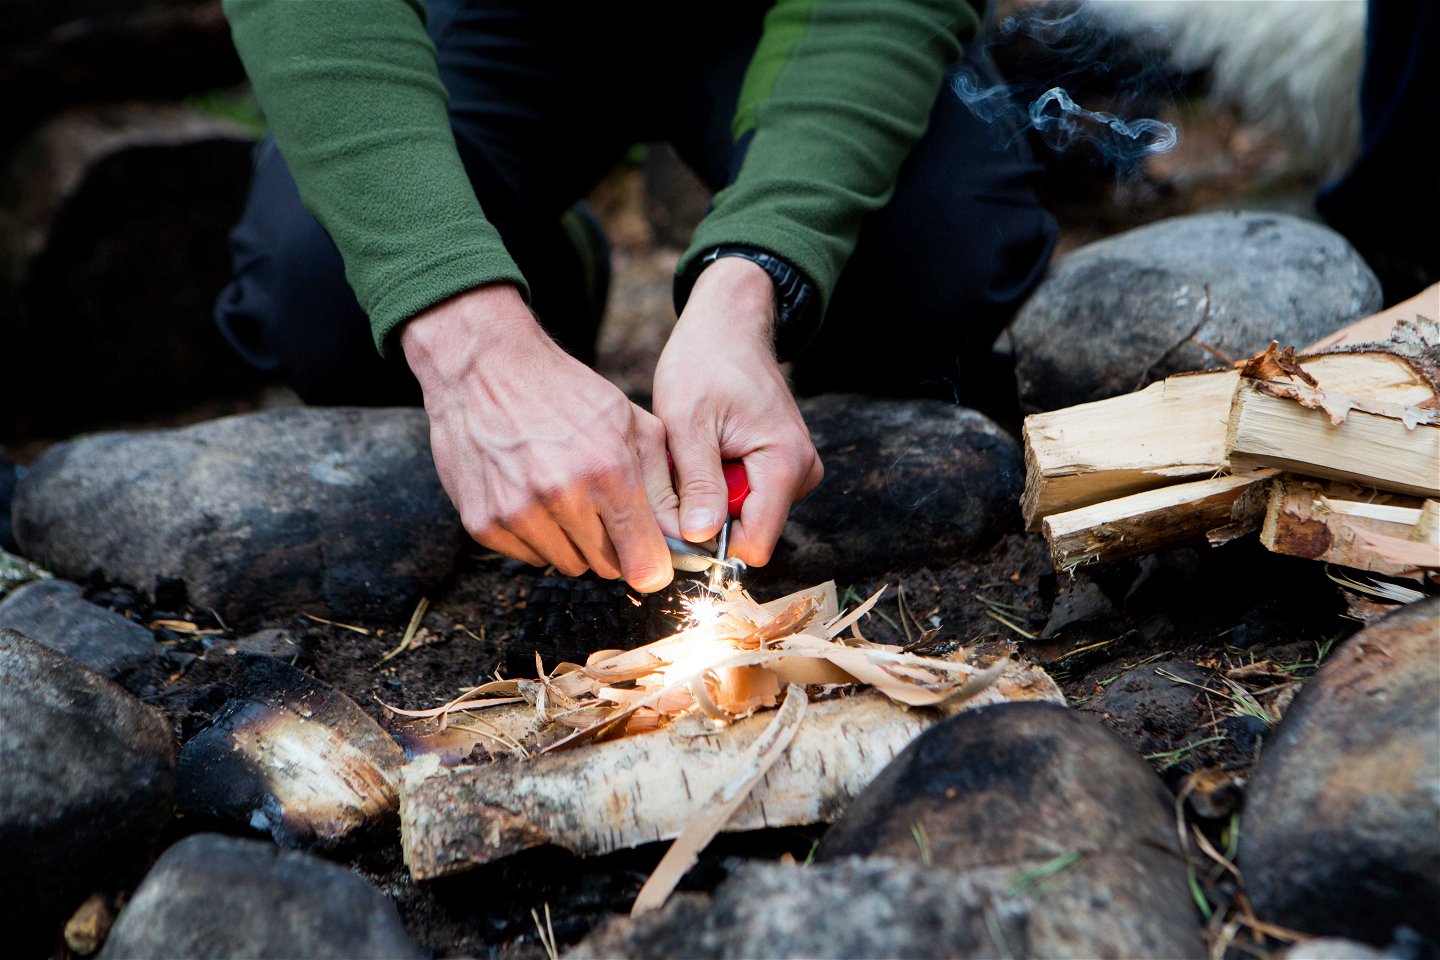
A modern fire striker, or fire steel as it is sometimes called, is a small rod made of magnesium alloy. Pulling the ignition side of the striker against an edge of steel, such as the back of a knife, creates hot sparks. By getting these sparks to fall on a suitable tinder, you can create a small flame. Suitable tinder included birch bark pieces that you have shaved off with a knife and dried grass. You just need to put the tinder in a small pile and aim the sparks from the fire striker at it.
3. With flint and steel
A flint and steel is the more traditional version of a fire striker. It consists of a piece of iron that is struck against a sharp flint. In this case, the sparks from the flint ignite the tinder. However, a flint load creates much smaller sparks than a modern fire striker and is more difficult to use. In order to successfully start a campfire with flint and steel, it has to be effectively built with proper tinder and firewood.
“Char paper” is particularly good for capturing sparks from a flint and steel. Char paper is just common cotton fabric that has been “carbonated”. You can create char paper yourself by filling a can with pieces of cotton fabric and then burning around a metal can without letting the fire get in and burning the fabric directly. Position the can upside down with the opening closed to the ground. Once the fire has burned out, you’ll find the can is filled with black char paper, which is excellent for capturing sparks.
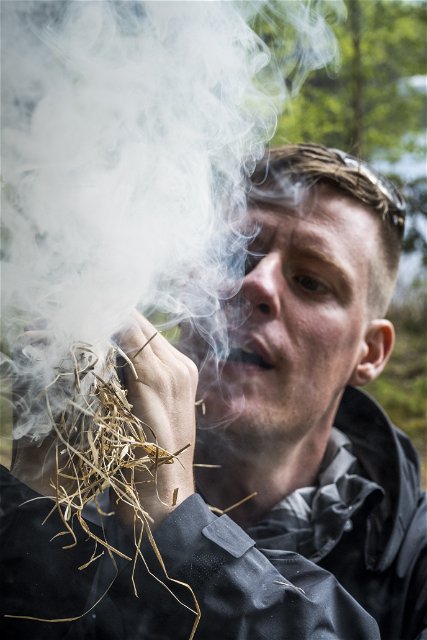
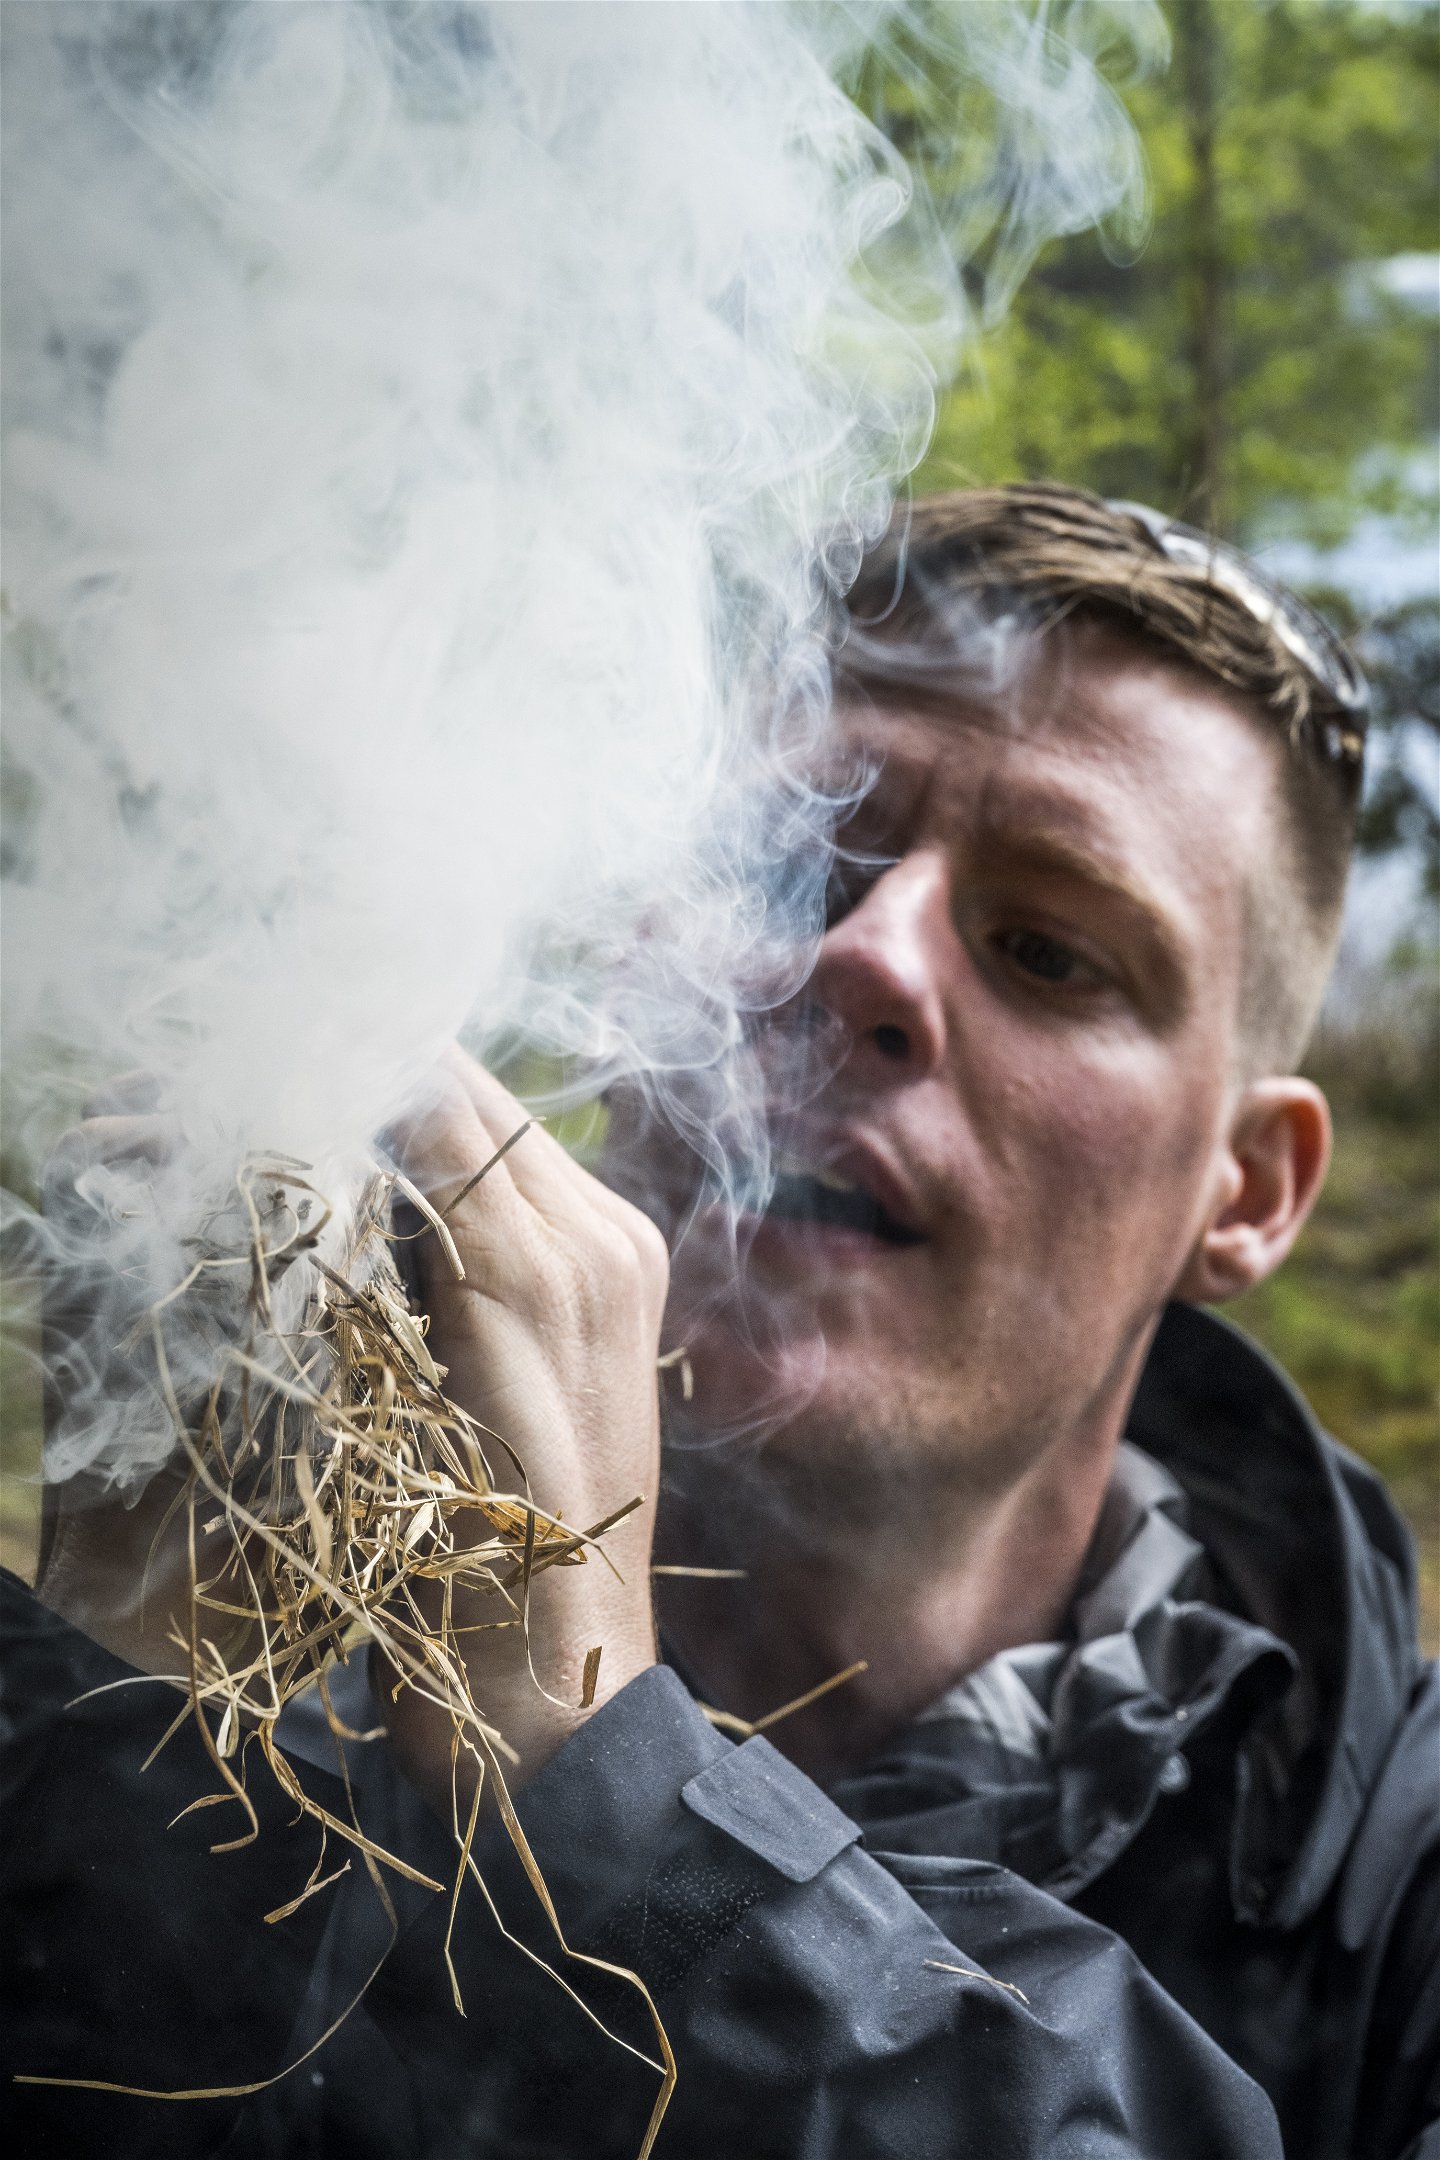
Char paper, however, doesn’t burn as flame when it’s ignited by a spark, it only starts to glow as an ember. Creating fire from embers is not the easiest thing to do. To make embers turn into flames, you can put them in some dry grass and then wrap the grass with a piece of birch bark. The package should look like a small fist with smoking grass in the middle. You can add oxygen by blowing steadily on one end of the package, and you will notice the grass smoking more and more. Eventually, the whole thing will catch fire, so be careful not to burn yourself. The whole process of creating fire from embers can take several minutes, so make sure you have enough materials for embers, i.e. enough char paper or the like.
Using flint and steel is certainly not the easiest way to light a campfire, but it earns many points in the naturalist community for those who succeed.
4. With friction
The most difficult way to start a fire is with friction. Unfortunately, it’s not possible to create a flame by using normal hand force to rub together two sticks from any tree in Sweden. Native Swedish wood requires considerable heat and, therefore, considerable friction to ignite an ember that can then become fire.
The simplest method of creating fire with wood from Swedish trees is the"bow drill method". The bow drill method involves getting a so-called "drill" to rotate so quickly against an underlying plank that the friction becomes so great that embers form in the powered wood scraped up by the friction. When enough smouldering wood powder has been scraped up, the embers can be used to create a fire in the same way as described above.
To make the drill rotate fast enough, a wooden bow is used with a strong string between each end. The drill is attached by the string wrapped around the drill, and the rotation comes when the bow is pulled back and forth at the same time as the drill is pressed against the board with the help of a wooden block. With the right technique, you can get it to smoke after just a couple of pulls and presses.
Creating fire with the bow drill method requires some practice. Thankfully, the Internet is full of instructional videos to help anyone who wants to give it a try. Once you succeed at starting a fire with friction, you’ll be surprised at the joy and pride you feel.
Good luck!
Contact
Email address
Organization logotype


